It’s tried and true: a picture is worth a thousand words.
No matter how good you are at writing and how flowery your descriptions get, a customer would never consider buying clothing sight unseen. In today’s world of flashy social media and high definition cell phone cameras, having great photos of your apparel is absolutely essential to a flourishing resale business!
Sift through your favorite reselling platform (whether it be Etsy, eBay, Poshmark, or more) and you’ll notice a trend: if a product has a bad photograph, your eyes hate it! Even if it seems like it’s exactly what you’re looking for, if the thumbnail is blurry, badly lit, or not color corrected, you’ll skim right past. Good pictures are make-or-break for a clothing reseller. They are your calling card, a big neon sign that can either say, “I am a professional with great products!” or, “I am sketchy and have no idea what I’m doing!”
So let’s talk about photography: where do you start? How do you know what makes a good -- or bad -- product picture? What equipment do you need? We’re going to break down the do’s and don’ts for you until you’re ready to snap a pic like a pro!
DO: Prep your garment ahead of time
Most of us don’t have our picture taken if we’ve only just rolled out of bed. Usually, you want to at least wash your face, brush your hair, maybe put on a little mascara and eyeliner. Especially if you’re trying to look professional and put together!
Clothing photography is no different. Your products should be looking their best when you’re getting ready to take their picture! Clothes can easily get wrinkled and creased from shipping and storage, and needs to have properly cared for it you’re going to have it ready for a photo shoot.
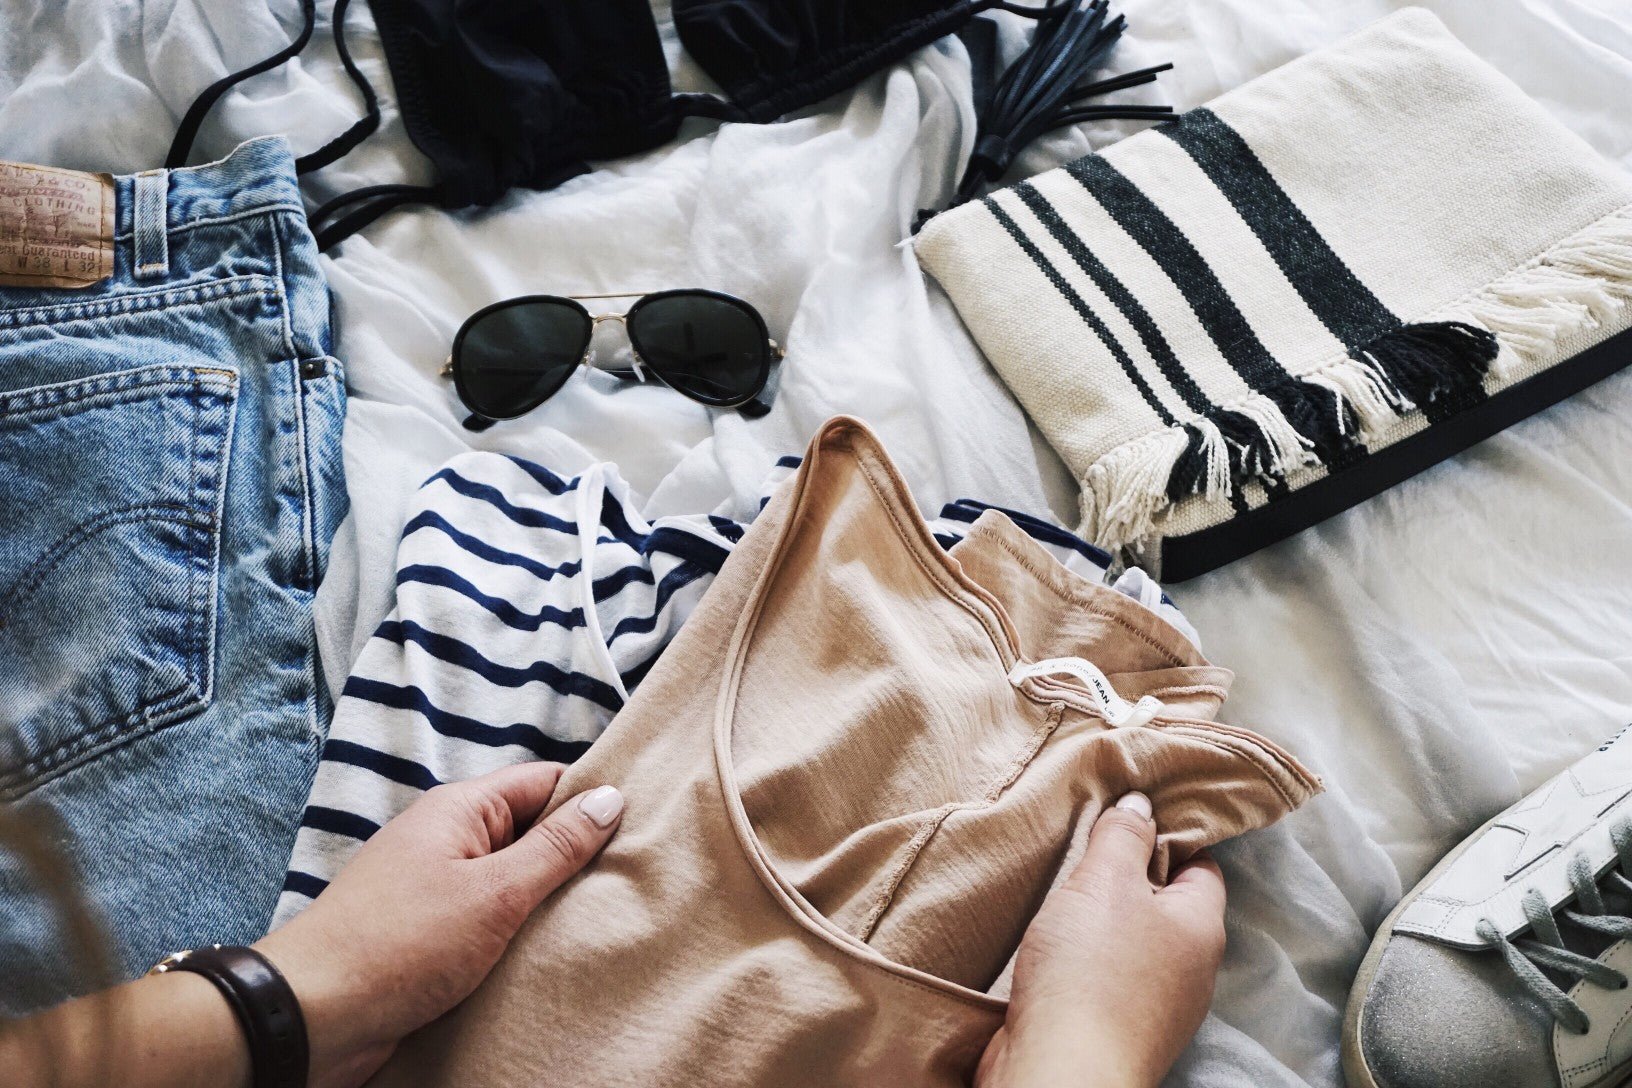
Here’s how the pros do it: hang the garment properly and use a steamer to smooth out the wrinkles in the fabric. Be sure to check the tags for proper care instructions! Smooth, crease-free clothes look much more polished and attractive for potential buyers. Use a lint roller or roll of masking tape to remove any dust particles or hairs that might have stuck on to the clothing.
Look over your prepped clothes with a close, critical eye--any small wrinkles or specks of lint stand out in a big way when you’re taking a high-quality picture!
DON’T: Overdo the Photoshop
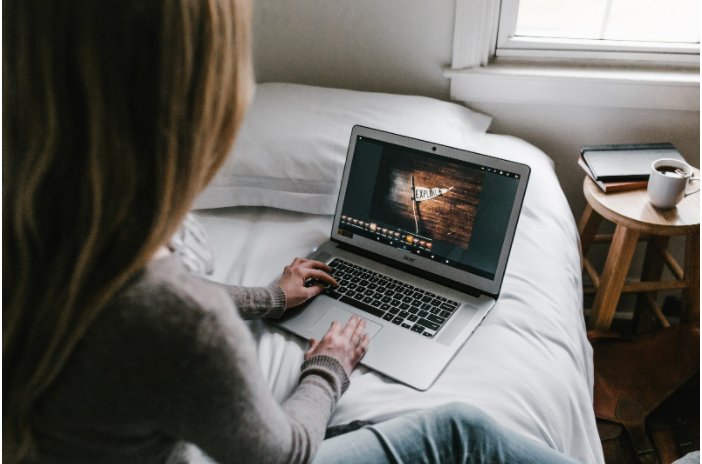
Photoshop can be a saving grace if you’ve taken Photoshop is a great tool, but it’s not a magic wand: it takes time and expertise to really grasp the skills needed to fix wrinkles, stains, or defects. Over-editing your pictures can lead to them looking fake or low quality--plus you could end up with an angry customer if the garment they receive looks significantly different than the photo.
Try to get your clothing close-to-perfect before snapping that pic, so that you only have to add final touches or color correction. Your future self will thank you when you’ve cut down on the post-photoshoot editing work!
DO: Show off the details!
Sometimes a close up is the only way to capture the little details that make a garment so special. Get the full shot that includes the whole article of clothing, but make sure to snap a closer pic too!
Here are some ideas for details you might want to capture:
- Small patterns
- Unique fabric texture
- Cute buttons or bows
- Informative tags
- Fun stitching
- Sleeve details
A close up is a great complement to your full-frame image!
DO: Plan to invest in a good camera
The good news is that with cell phone camera technology these days, you don’t have to wait until you’ve saved up thousands of dollars to buy a fancy camera! You can start your business today with your cell phone and a dream. Still, if you want to be a super boss babe and grow your business exponentially, you’re going to want to invest in a high-quality camera to make your photos that much better.
A DSLR with manual exposure and aperture settings is a great investment for a budding businesswoman. Be sure to do your research and find the camera that best suits your needs without breaking the bank!
While you’re saving and searching for your camera soulmate, be sure you use a tripod for your current camera whether it’s your iPhone or a point-and-shoot! No matter how steady your hand is, you’ll always get a clearer pic when you use a tripod or steady surface to rest your camera on. This also allows you to take consistent shots without having to relocate the best angle for every new garment while keeping your hands free to prep!
DON’T: Overlook your lighting setup
When it comes to photography, lighting is everything! Nothing looks more professional than a well-lit photograph. If you have yet to invest in a DSLR camera, your lighting is even more important; cell phones have a weakness for low light and you won’t get the quality of picture you’re looking for. No need to blow your bank account on expensive light kits though; there are a number of cheap or even free options for your at-home studio!
Natural light is a free and high-quality source for any budding clothing photographer. If you’re fortunate enough to have a big window at home, don’t be afraid to use it! Position your photography setup near that window where it can get even, indirect light, and you have an inexpensive way to keep your photos clear and well-lit.
If you’re committed to your business and have the means, getting a simple lighting kit is a great investment! Having artificial light means that you can shoot without worrying about the weather or the time of day (night owls rejoice!). When you’re reselling at a high volume, a lighting kit is the way to go to keep your photography efficient and consistent to a professional standard!
Here are a few key pieces of lighting equipment you might want to check out:
- Ring Light -- cheap and efficient, used by many influencers and YouTubers
- Softbox -- great for evenly diffusing light to make your products look appealing!
- Monolight -- also known as a “light head”, this can be the more expensive part of your kit. Be sure to take the time to research and find the best fit for your needs.
DO: Consider your options for flat lay, model, or mannequin
When it comes to apparel photography, you have a few options for displaying your products:
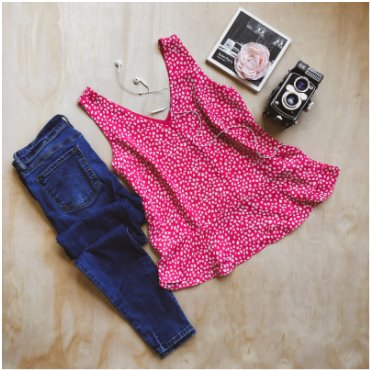
Flatlay -- A flat lay is the most basic way to photograph your clothing. It is what it sounds like: an article of clothing (usually including accessories, shoes, etc) laid flat on a surface from the top. Flatlay is an easy way to photograph clothing if you’re just starting out reselling. Make sure it’s shot with soft and even light--the trademark of a professional flat lay is that it is bright and clear with no sharp shadows! Flatlay is often used for social media posts to show off your style and products and gain a following.
Model -- When you’re trying to catch a customer’s eye, nothing looks more professional than putting your garments on a model. This allows the potential buyer to see what the clothing looks like in real life, and how it might fit their own body! Not sure if you can afford a model? If you’ve purchased clothing in your size, toss it on and model it yourself!
Mannequin — If you don’t want to hire a model and aren’t comfortable showing off the clothing yourself, using a mannequin is the next best thing! This also allows you to be consistent and quick when taking lots of photos at once. The mannequin gives the clothes a human shape that allows the customer to get a sense of the shape and drape of the garment. Don’t be afraid to style it up too; if the article of clothing doesn’t quite fit your mannequin, you can pin and tuck it so that it’s styled more realistically!
We hope these do’s and don’ts of photographing clothing is enough to get you started! Using these quick tips will help you create pictures of your products that look clean, professional, and eye-catching. Be sure to tag Boutique by the Box to show us what you’ve learned, and check out our blog for more great reselling tips!


Leave a comment
This site is protected by hCaptcha and the hCaptcha Privacy Policy and Terms of Service apply.